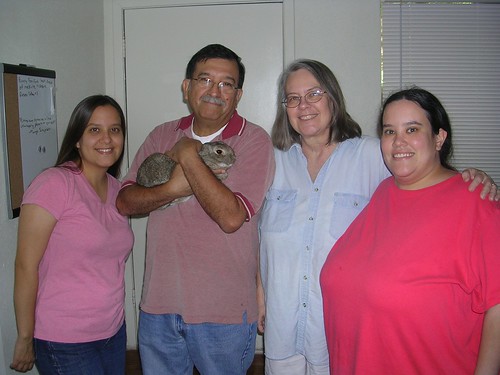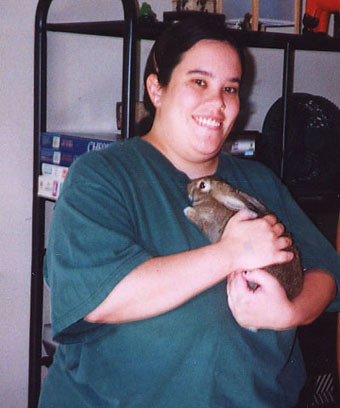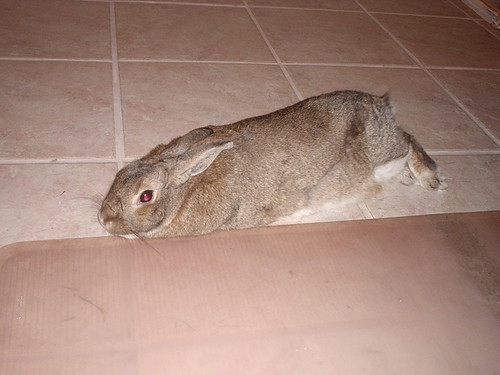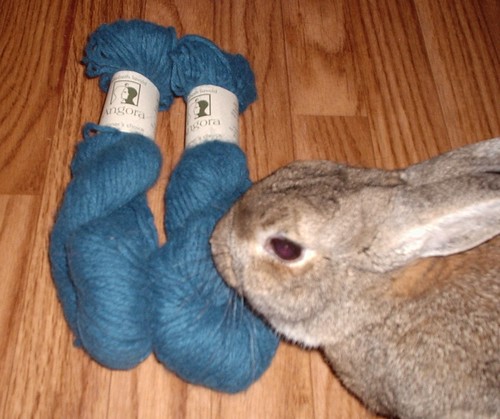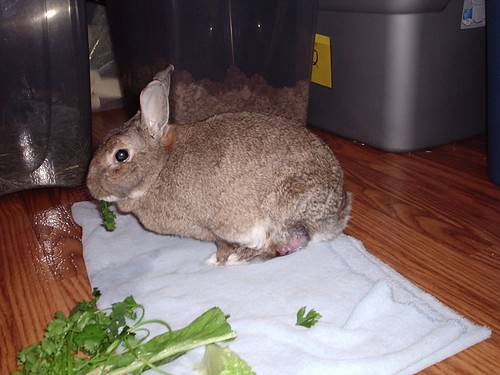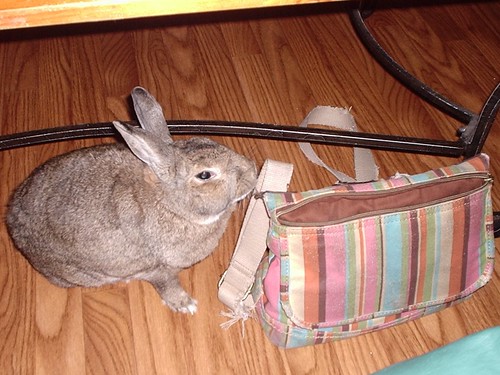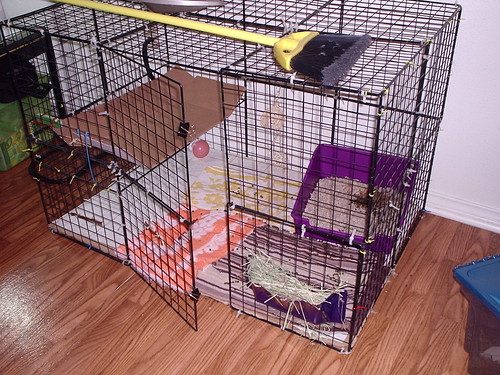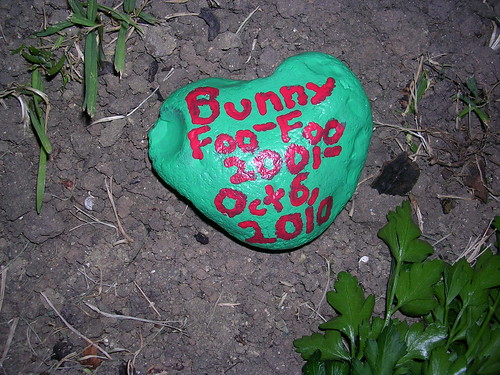
Based on this picture, you may be expecting me to wax poetic on the loss of Bunny Foo-Foo. In reality, my main goal today is to brag about how well her grave marker came out.
I made a point of talking over the details of BFF's burial with Mom and Dad while she still had some time left. I didn't want to have to think about the details after she was gone. Among other things, I decided to paint a rock to use as a headstone. I suggested that we lay the rock on top of her grave, rather than trying to dig a hole for it so it would actually be in the ground and somewhat permanently placed. That way Dad can pick it up and move it when he mows the lawn.
I must say, I came up with a great solution. It was inexpensive to make (less than $7 for all the supplies), but still high quality and able to withstand the elements. It's definitely a noticeable landmark, but it doesn't overwhelm the yard. It's a respectful memorial, but it's got a little color and personality to it.
The rock came from Jules. He was always picking up rocks and seashells everywhere he went. It's driving me nuts now because I keep finding rocks and seashells all over my apartment. However, I'm glad he picked up this heart-shaped rock that was the perfect size for a grave marker. I was ready to get rid of it before Bunny Foo-Foo's diagnosis. Luckily, I never got around to it.
I did some research on rock painting and came across Pet A Rock, a site by Patty Donathan with some great advice and tutorials. Her tutorials are kind of like the patterns some knitters and crocheters sell. There's a few freebies on her site and some tutorials that can be downloaded for a small fee, as well as an e-Book with more tips on the craft. Rock painting is more popular than I realized. My project was very simple, but many rock painters do much more elaborate designs. Patty paints a lot of rocks with detailed pictures of dogs and cats.
Patty recommends "any craft, water-based, acrylic paint" for painting rocks. I went to Jo-Ann and got some two ounce bottles of Apple Barrel Paint for 89 cents each. I got the regular paint, not the gloss, the stuff with glitter, the stuff for wood, etc.
I had a hard time choosing colors. I ended up calling Mom and Dad from Jo-Ann. Dad thought of green because many of her favorite foods are green, and that seemed right to me. Mom suggested pink because it just somehow felt right, and I agreed with her too. But I couldn't find a shade of pink I liked. Dad also suggested other colors representing her favorite foods, like the light yellow tortilla chips he fed her* or orange carrots. I thought of red because she loved apples. I finally settled on "20598 Green Clover" and "20784 Red Apple." At first I didn't want to use Christmas colors, but I decided it didn't matter. And the names of the colors sold me, as it often happens when I buy yarn.
I bought some basic paintbrushes for less than $2. I considered using a paint pen instead of painting the letters, but the tips of the paint pens were too thin. The writing wouldn't have shown up.
For the varnish I settled on Delta Ceramcoat Protect Satin Exterior/Interior Varnish
When I got home, I practiced painting on paper first. I realized pretty quickly that the paintbrushes I bought weren't going to cut it. I couldn't control them enough to write legibly. I ended up using Q-tips instead.
Then I got another one of Jules' rocks and made a test rock.
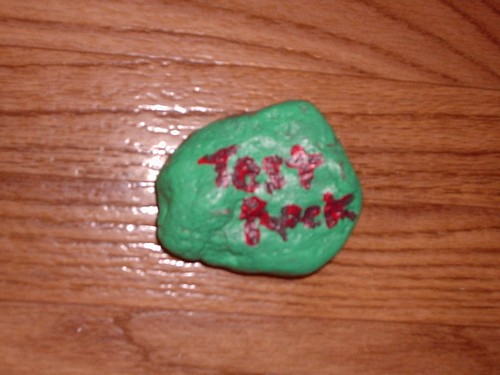
'Nuff said.
Then it was time for the real deal. I washed off the rock and let it dry. Then I applied two coats of the Green Clover paint with a sponge brush. I made sure the first coat was dry before I put on the second. That didn't take very long.
Once the second coat of green was dry, I penciled in the text. I was very careful and accounted for the fact that the paint would be thicker. I was able to erase and rewrite a couple of the letters that were a little wonky.
And then came the part that I'm especially proud of. My regular handwriting isn't very neat, so trying to write on the surface of a rock with paint and a Q-tip was especially challenging for me. I went very slowly, and for the most part used little dabbing motions. I basically did one coat with the Red Apple, although I made it thick, and did go back and touch up some of the letters.
Once the red dried, I applied three coats of varnish, because according to the bottle, you should use three coats minimum if the item is going to be outside. The varnish was the consistency of water, so I'd pour a little on, then spread it with the sponge brush. It dried quickly between coats.
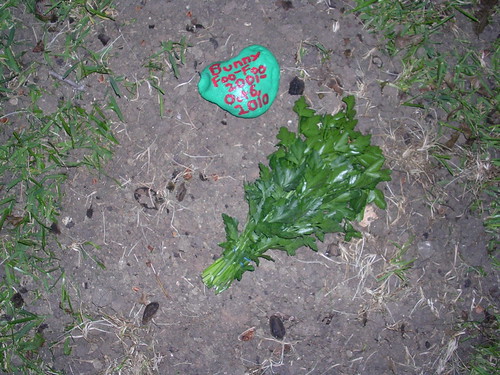
I'm very happy with the results, and I think it's going to hold up well.
We had a little memorial last week. The family got together and we took turns reading. I found The Parable of the Mustard Seeds, St. Francis Preaches to the Birds, The Velveteen Rabbit
I'm going to leave you with a clip from Watership Down. It's the ending of the movie, so consider this your spoiler alert. (Although it doesn't really give away any of the rest of the plot.) And it's that strange combo of sad and uplifting that will make you cry. It's brought me a lot of comfort in these last few weeks.
*Disclaimer - You really shouldn't feed your rabbit tortilla chips or other "human" foods (Or many of the commercially available rabbit treats while we're at it.) More details here.

