To make up for this, I've knit several simple scarves in the last couple of weeks. I've been using yarns that I've run into while dealing with the moths in my stash.
One of these days there will be another craft show, and I'm putting these in my inventory so I will be prepared. That is why I'm calling these the Craft Show Scarf Quartet.
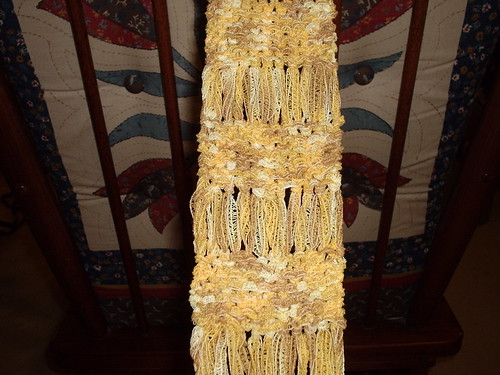
Ribbon yarn is ideal for drop stitch scarves. I didn't use a pattern, but there are lots of designs that utilize the same concept. On the drop stitch row, you wrap the yarn around the needle several times (I think I did it four times) and then drop all the wraps on the next row.
I think drop stitch scarves need fringe. I made a point of cutting the fringe ahead of time. I also put a little Fray Check
I used US Size 9 needles and one skein of a discontinued Online yarn called Linie 118 Vision that I got in a swap.
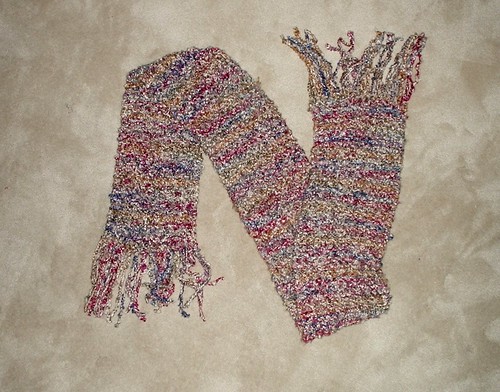
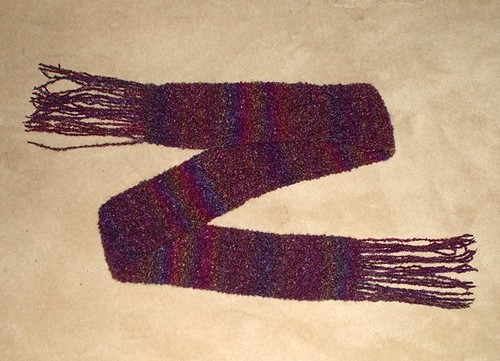
This one is a pretty straight forward garter stitch scarf with fringe. I actually worked on this a couple of times while I was lying in bed trying to sleep.
I used about one and two-thirds skeins of Red Heart Light and Lofty in "Cape Cod Multi." I think it came from a yarn swap somewhere along the way. I also used US Size 13 needles.
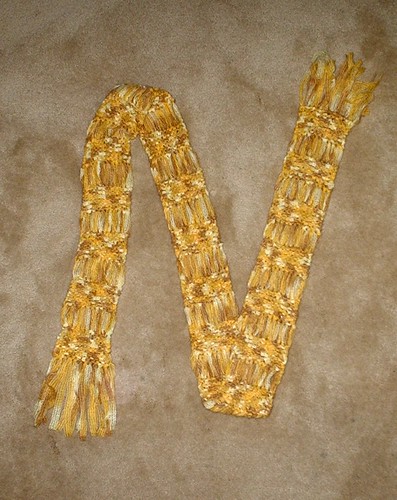
For this scarf, I used a different type of drop stitch than I did on the first scarf. I knit the whole thing lengthwise, then dropped every third stitch so it created a ladder all the way down.
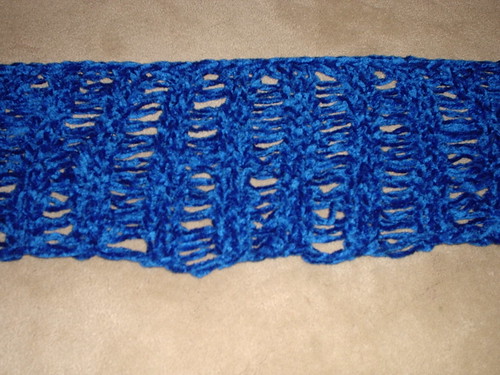
I had some issues after dropping the stitches. The bind off (the top row in this picture) made one edge of the scarf nice and neat. However, every third stitch of the cast on row came undone, which made the other edge loose and messy. And for some reason the second rung of each ladder was looser than the first. So I crocheted along the cast on edge to neaten it up.
It's hard to explain what what I did on the cast on edge, but I'm going to try.
First, I slip stitched over the two intact stitches, leaving one loop on the hook when I was done.
Then I took the hook and twisted the first rung of the ladder around it to created another loop, so there was two on the hook.
After that I pulled the second rung of the ladder through the loop I made (the first one on the hook), leaving two loops on the hook.
At this point I think I pulled the yarn through both loops on the hook. (I might have pulled the first loop on the hook through the second, but I doubt it.)
Then I'd start over from the slip stitches.
If anyone really wants to to try to recreate what I did, e-mail me or comment, and I'll see if I can explain it better. This is one of those things that most people don't care about, but I want documented for myself.*
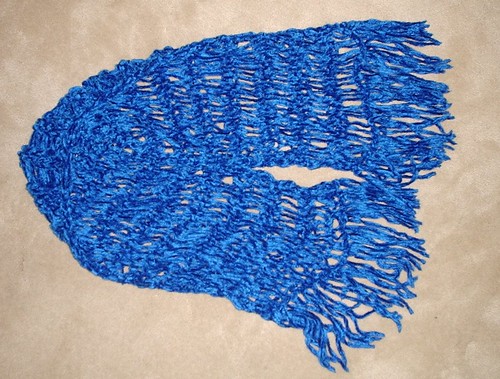
I have mixed feelings about the end result. If I do something like this again, I need to plan ahead more. And I need a yarn that's thinner and easier to deal with.
I used one skein of Lion Brand Chenille Thick and Quick in Royal Blue and US Size 11 needles. Once again, I used Fray Check on the fringe. Then I twisted the ends to keep the yarn from coming undone.
Finally, I made one more garter stitch scarf. This was made with one skein of Lion Brand Color Waves that was leftover from this ancient project, and US Size 8 needles. Like the Drop Stitch Chenille Scarf, I used a little Fray Check on the fringe and twisted the ends to keep the yarn from coming apart.
* - You could say that about my entire blog, but that would be mean.


No comments:
Post a Comment