I've been working at a part-time, work-at-home job for almost a year now. (If you are interested in information about the job, comment or e-mail me, and I'll tell you more. I'm continuing my tradition of not naming my employer on this blog.) Since my pain problems make it difficult to use the computer for long periods of time, I have to be judicious with the time I do spend on the computer. The same head and neck problems have been keeping me from spinning as well.
Also, I've gotten stuck in the trap of thinking that because it's been so long since I posted, I need to come up with a big comeback post. So I put off blogging even longer because I felt like I had to do something big. Then I finally decided that I just needed to blog something.
Excuses, excuses.
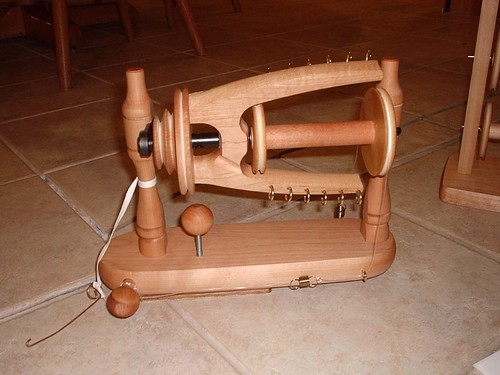
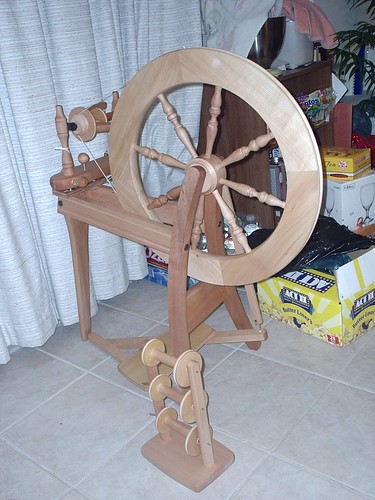
Anyway, recently the conrod joint on Mom's spinning wheel broke. It's the flexible piece of nylon that connects the wheel's treadle with the rod that spins the wheel. (You can see it in a diagram here.) I think sometimes pieces of leather are used as well, but Mom's Ashford has a piece of nylon.
You can go out and buy replacement joints. They're only a couple of dollars. However, by the time you pay for shipping you're paying an awful lot for a little piece of nylon. The best way to do it is to wait until you have something else to buy from the shop and ship them together. Either way, you'll have to wait.
So Dad set out looking for solutions. He tried several things. His search took him to Home Depot, where he found the answer.
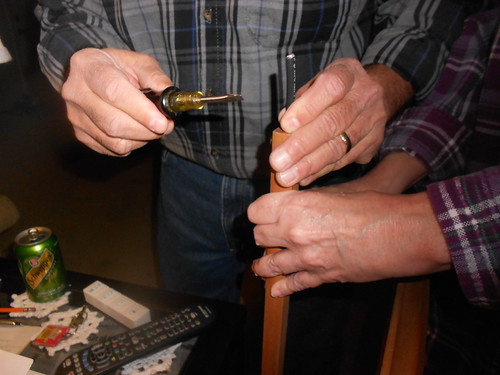
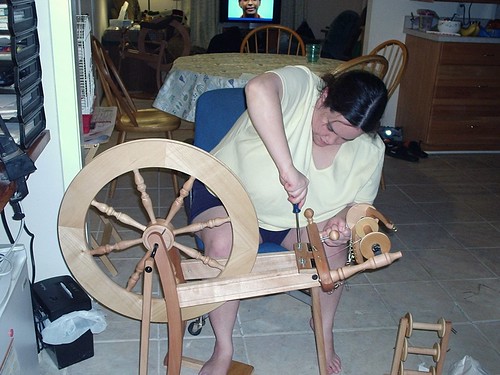
You are looking at small piece of RG-59 Coaxial Cable. In this picture, Mom and Dad are working on screwing it into place. Dad bought 1 foot of the stuff for 27 cents, and he still has enough left over to replace several more conrod joints.
So if your conrod joint breaks, and you're having the shakes because you can't spin, go to your hardware store. Be sure to ask for RG-59 coaxial cable. There is more than one type of cable, and this is the one that proved to be the perfect size for Mom's Ashford Traditional wheel. (I would imagine that it's the same size for all the Ashfords, but you'd have to ask them to know for sure.)
They sell coaxial cable in pre-measured lengths with plugs on the ends at electronic stores. Don't waste your money on those. For this job, you need the cable that's sold by the foot. It will probably be in a spool that looks like this.
 Ask an employee to cut off a piece for you. Dad got an entire foot, but a conrod joint is much shorter than that. You could probably get away with half a foot, but it's not a bad idea to have some extra on hand in case you cut the first piece too short or something else goes wrong. (They may not sell lengths shorter than a foot anyway. I guess it all depends on your hardware store.)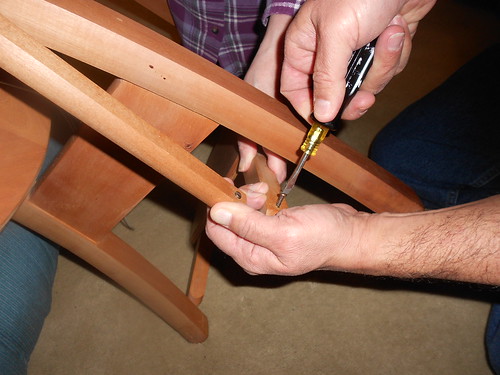
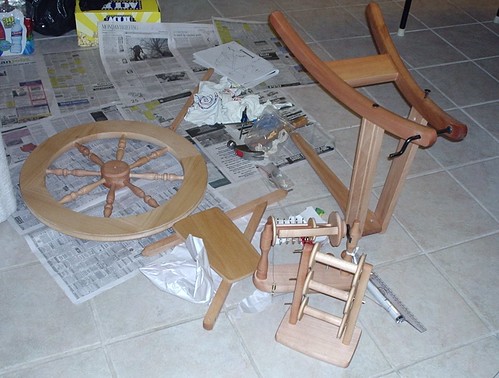
Mom and Dad cut a piece the same length as the old conrod joint. The screws in the conrod and the treadle assembly screwed into the cable, so they didn't have to make any holes manually.
In the video above, you can see the finished repair and hear Mom and Dad talking about it. Mom was having some trouble treadling. It turned out that she had taken off the bobbin before they turned the wheel upside down for the repairs, and that was throwing the whole thing off balance. It's treadling a little better in the video below:
In case you were wondering, yes, we made the repairs on Super Bowl Sunday. (I think I'm remembering that correctly.)
Also, while we're on the subject, I should mention another solution I found on the Knittsings blog. They used vinyl boat cording from an upholstery shop.
As you can see by the title, I've been debating whether to call this a hack or a kludge. Wikipedia seems to imply they are basically the same thing. In my mind, a kludge has negative connotations. it's a fix that isn't very good, like the kind of things you find on There I Fixed It. Kludges are either temporary, desperate, stupid or any combination of those three. Conversely, hack has positive connotations. I'm using hack in the life hack sense of the word. Hacks are clever solutions you wish you would have thought of. Apparently they're not as different as I thought.
This may be a Kludge, because I'm not sure how long the coaxial cable will last. I don't know if Mom has any spinning in progress right now. Only time and lots of spinning will tell how well it works. A true conrod joint is still the ideal solution, but the coaxial cable will last until Mom orders something from somewhere that sells conrod joints.
I'm going to confess that I used hack in the title because I read this post that says headlines with the word hack (and surprise) have the tendency to go viral. I doubt a post about fixing a spinning wheel will go viral, but I thought I'd try it. I think it still sounds like my own voice. I use the word hack, at least online. The challenge with tips like these (as well as any writing related to SEO) is to use the information to your benefit without sounding like a robot. I still want to sound like me. I think I did ok.
Besides, if any of these posts have truly been about a hack, it's this one.