Showing posts with label "pattern". Show all posts

Saturday, October 27, 2007

FO: Red Scarf Scarf (w/"pattern")

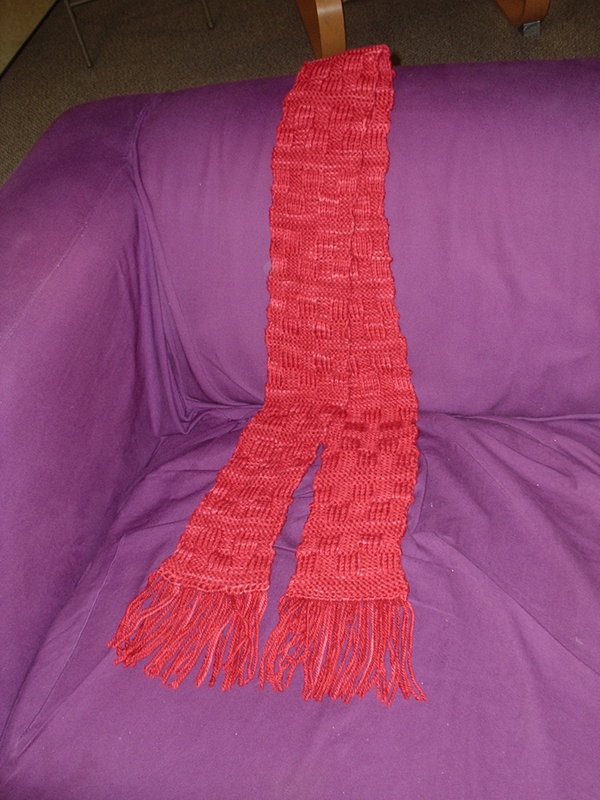
The deadline for the Red Scarf Project has come and gone, but I haven't posted about my contribution until just now.

The deadline for the project was coming close, and I was looking for some yarn that chunky, but not too chunky, nice, but affordable and a pattern that was better than plain garter stitch, but would go quickly.

Fortunately, I snagged some beautiful Rio de la Plata Merino Santa Maria in Red Brick from High Strung Yarn's going out of business sale (the owner sold her inventory at one of my knitting groups.) I bought three skeins, but only needed one skein and less than half of the second skein.

The pattern is below. I think it fits most of the Red Scarf Project requirements. It's a little on the skinny side. (I think it was about four and a half inches wide, and they recommend making the scarves at least five inches wide.)

I used US size 9 needles, and the gauge was a little less than 4 stitches per inch.

Cast on 20 stitches.

Rows 1-7: Knit across.
Row 8: K4, P4, K4, P4, K4
Row 9: P4, K4, P4, K4, P4
Row 10: Repeat Row 8
Row 11: Repeat Row 9
Row 12: Repeat Row 8
Row 13: Repeat Row 9
Row 14: P4, K4, P4, K4, P4
Row 15: K4, P4, K4, P4, K4
Row 16: Repeat Row 14
Row 17: Repeat Row 15
Row 18: Repeat Row 14
Row 19: Repeat Row 15

Repeat Rows 1-19 until it's the length you want. (I made it about 60 inches, about as long as I am tall.) Knit 7 rows. Bind off.
Wrap around a five inch piece of cardboard (I actually used my needle gauge) about 40 times. Cut at one end to make fringe.

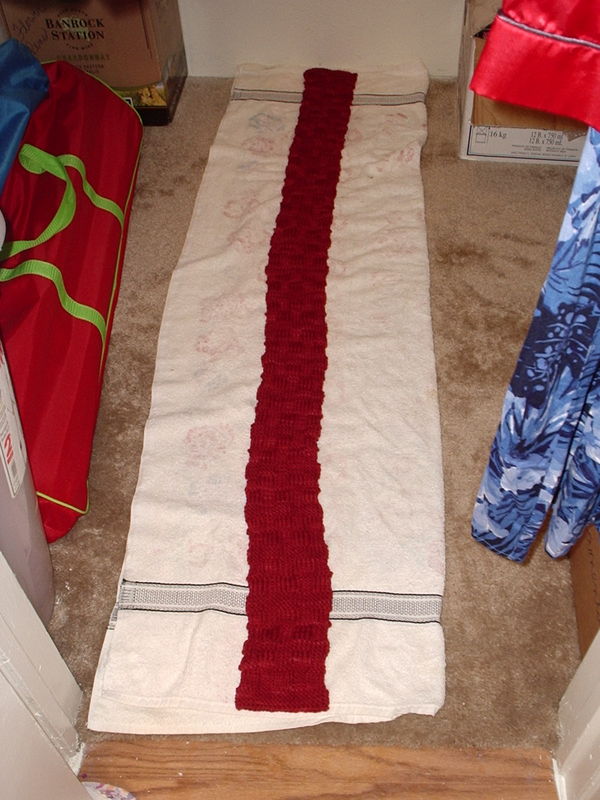
Block the scarf. I didn't do a very good job blocking because I couldn't find my T-pins. I just sort of put some books on top of it to hold it down. The edges would have been neater if I'd pinned it down. (This picture was taken during the blocking process. Yes, I blocked it in my closet.)

The last step is to add the fringe. I added one piece of yarn to each stitch.

Attach one piece of fringe to each stitch.

For a minute, I thought I saw my scarf here (it was the red one!), but I think it was imagination.

Tuesday, October 9, 2007

FO: Ribbon One Skeiner (w/"Pattern")

I'm just now posting my last Stash and Burn One Skein Contest entry, and I already I didn't win the contest. But I did have fun.

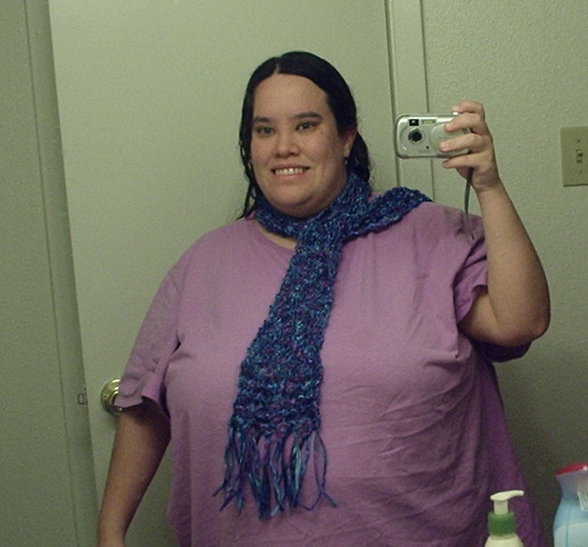
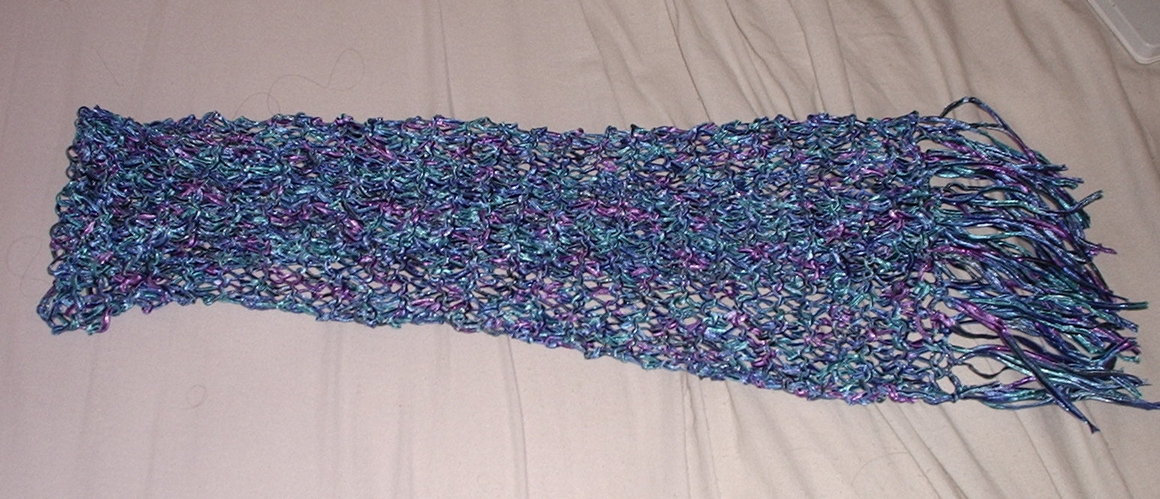
I've done this "pattern" a couple of times. I bought two balls of Crystal Palace Party Ribbon a while back at the Knit n' Knibble in Tampa. I had already done the drop stitch scarf everyone does with ribbon yarn, and I decided to do something different. I tried all sorts of stitches. Finally, one day I walked into the Knit n' Knibble and saw someone making a mesh shawl with ribbon yarn and giant needles. It took me a minute to figure out that it was just plain old garter stitch, on giant needles.

I've done this scarf a couple of times. I've also used Moda Dea Ticker Tape. I think it will work with just about any ribbon yarn.

I used US size 17 needles. This scarf is in Crystal Palace Party Ribbon in "Ultra Blues." It was one of the two balls I bought from the Knit n' Knibble.

The key is to cut the fringe first. On this one I cut 30 pieces, each about 10.5 inches long.

After cutting the fringe, cast on 15 stitches. Leave a tail that is at least as long as the fringe.

Knit until you run out of yarn. The first time I did this, I tried to keep the ribbon perfectly flat on the needles. It's not worth it. Just knit. Trust me.

Bind off. Make sure you have enough yarn left to bind off the whole row, and leave a tail the length of the fringe.

Add fringe on each stitch. (There's a good tutorial here if you've never done it before.) Tie the tails in with the fringe.

Depending on the yarn you choose, you may want to put clear nail polish or Fray Check on the ends of the fringe to prevent unraveling.

Monday, August 13, 2007

FO: My first Knitty submission - Purple Waves scarf

I was looking for more FOs to put on Ravelry when I cam across some early (circa 2005) Knitty submissions I made.

It's amazing how much I've grown as a knitter since then. I can clearly see why this was not "Knittyworthy." It's not all that interesting, the pictures aren't very good and borrowing from a Lion Brand pattern (credited or not) is not the same as borrowing from a Barbara Walker treasury. (BTW - I've noticed citing Barbara Walker stitch patterns in acceptable and somewhat common on Knitty.)

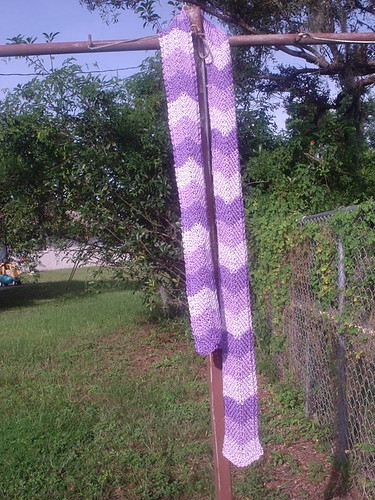
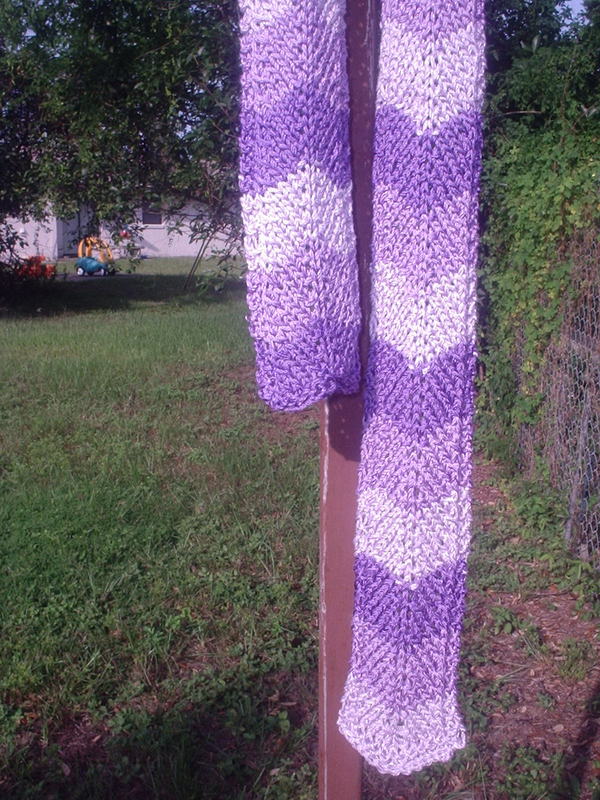
I decided to put this one out as a "freebie." Whether it's a "pattern" is debatable, but is still makes a nice little scarf.

I'm officially "citing" Lion Brand's "Catch the Wave" afghan as inspiration for this pattern. It's a free pattern, and I'm not getting any money off this (and it's a readily available free pattern) I'm going to go ahead and "publish" it.

So here it is, in original "Knitty" form:

Purple Waves
by Sally Villarreal
Tangy

While I was home visiting my family in Texas, my friend and I visited a local yarn store. Since my home in Florida is a good hour and half away from a good yarn store, I wanted to buy something, but I didn't have a lot of money to spend. I settled for three hanks of Berroco Cotton Twist in varying shades of purple. Somewhere in between the yarn store and the time I arrived back home, I decided I wanted to make scarf with wavy stripes. After surfing the net I found a pattern for the “Catch the Wave” afghan on Lion Brand Yarn’s website. I converted the pattern to a scarf and Purple Waves was born.

Photos by Sally Villarreal

SIZE
One Size Fits All

FINISHED MEASUREMENTS
Length: 64 inches
Width: 2.75 inches

MATERIALS

Berroco Cotton Twist [70% Mercerized Cotton, 30% Rayon ; 85yd/78m per 50g skein]
[A] 8342: Sweet Violet; 1 skein
[B] 8328: Amethyst; 1 skein
[C] 8327: Dowager; 1 skein

1 set US #7/4.5mm straight needles

Yarn Needle for weaving in ends, T-pins for blocking

GAUGE
16 sts/24 rows = 4" in stockinette stitch

PATTERN NOTES
For most of the scarf you will be repeating these two pattern rows over. and over again.
Row 1: k2, k2tog, k2, 2 kfb, k3,, sl1, k1, psso, k2
Row 2: k2, p11, k2

When complete, you will have 39 stripes. The A, B and C color pattern will repeat 13 times.

PATTERN

Scarf
Cast on 15 sts in Color A.
Knit two rows
Then, repeat pattern rows 1 and 2 three times.
Change to Color B and work pattern rows 1 and 2 four times.
Change to Color C and work pattern rows 1 and 2 four times
Continue working pattern rows 1 and 2 four times and changing from Color A to Color B to Color C every 8 rows, until you have 39 stripes.
On the final stripe, in Color C, one work the two pattern rows 3 times, then knit the last two rows.
Bind Off.

FINISHING
Weave in the loose ends.
Block by using the T-pins to pin the scarf flat to a towel (You may need to put a couple of towels end to end to have enough length.) Spray with cool water and allow the scarf to dry overnight.

ABOUT THE DESIGNER
Sally Villarreal learned to knit and crochet from her mother in the third grade. She has been crocheting off and on since then, but recently picked up knitting for the first time in many years in January 2005.
Sally lives in Avon Park, Florida with her pet rabbit, Bunny Foo-Foo. She is a reporter for a local newspaper.

(FYI - I no longer live in Avon Park, but I thought it would be interesting to include my old "bio")

Sunday, July 22, 2007

FO: Project Linus Baby Blanket

As I predicted last night, I finished knitting my blanket for Project Linus before I went to bed. However, it took two episodes of Stash and Burn today to finish weaving in the ends.

As I mentioned last week I used six skeins of Red Heart Bright and Lofty (100% acrylic), two in bubblegum, two in Grape Crush and two in Ocean. I used size 11 needles (as I have a loose gauge, most of you would probably need bigger needles.)

I actually modified a "pattern" my knitting group is using for afghan squares for another charity project. Basically, I cast on...how many did I cast on? Not very much. Anyway, I just worked garter stitch and increased (kfb) at the beginning of each row, (changing colors every three rows) until I had used up half the yarn (it seemed like it was about right.) Then I started decreasing (k2tog) at the end of each row until I had only a couple of stitches left. Then I cast off.

So all I need to do now is contact my local Project Linus chapter and drop it off. I've gotten all sorts of compliments from non-knitters on the beautiful, soft yarn. I think other knitters may look down upon my choice. Either way, I think some little kid will love it, and it is sturdy and machine washable (as required by Project Linus.)

In Ravelry waiting list news, there are only 1,448 people in front of me as of right now. Slow and steady.